
helloooo!
for todays post, I thought that I would do Christmas room decor! I have 3 things that you can buy, and 2 things that you can make. I am so excited for Christmas and I have used all of these to make my room super festive!

I got this silver bell star wreath, and I thought it looked so cute and added a simple festive touch, but it could also be used all year round. I got this from Kmart, and it was super cheap!

I added some candy canes in a mason jar, and they add a touch of red to my room, but they are super hard to resist! You can get these anywhere, and there are some super cute DIYs with candy canes, like a heart shaped wreath!

Also at Kmart, I found this super cute pillow with a gold reindeer on it! This adds a festive touch, and a pop of gold too! It is also reversible, and on the other side it has gold, sliver and black triangles!

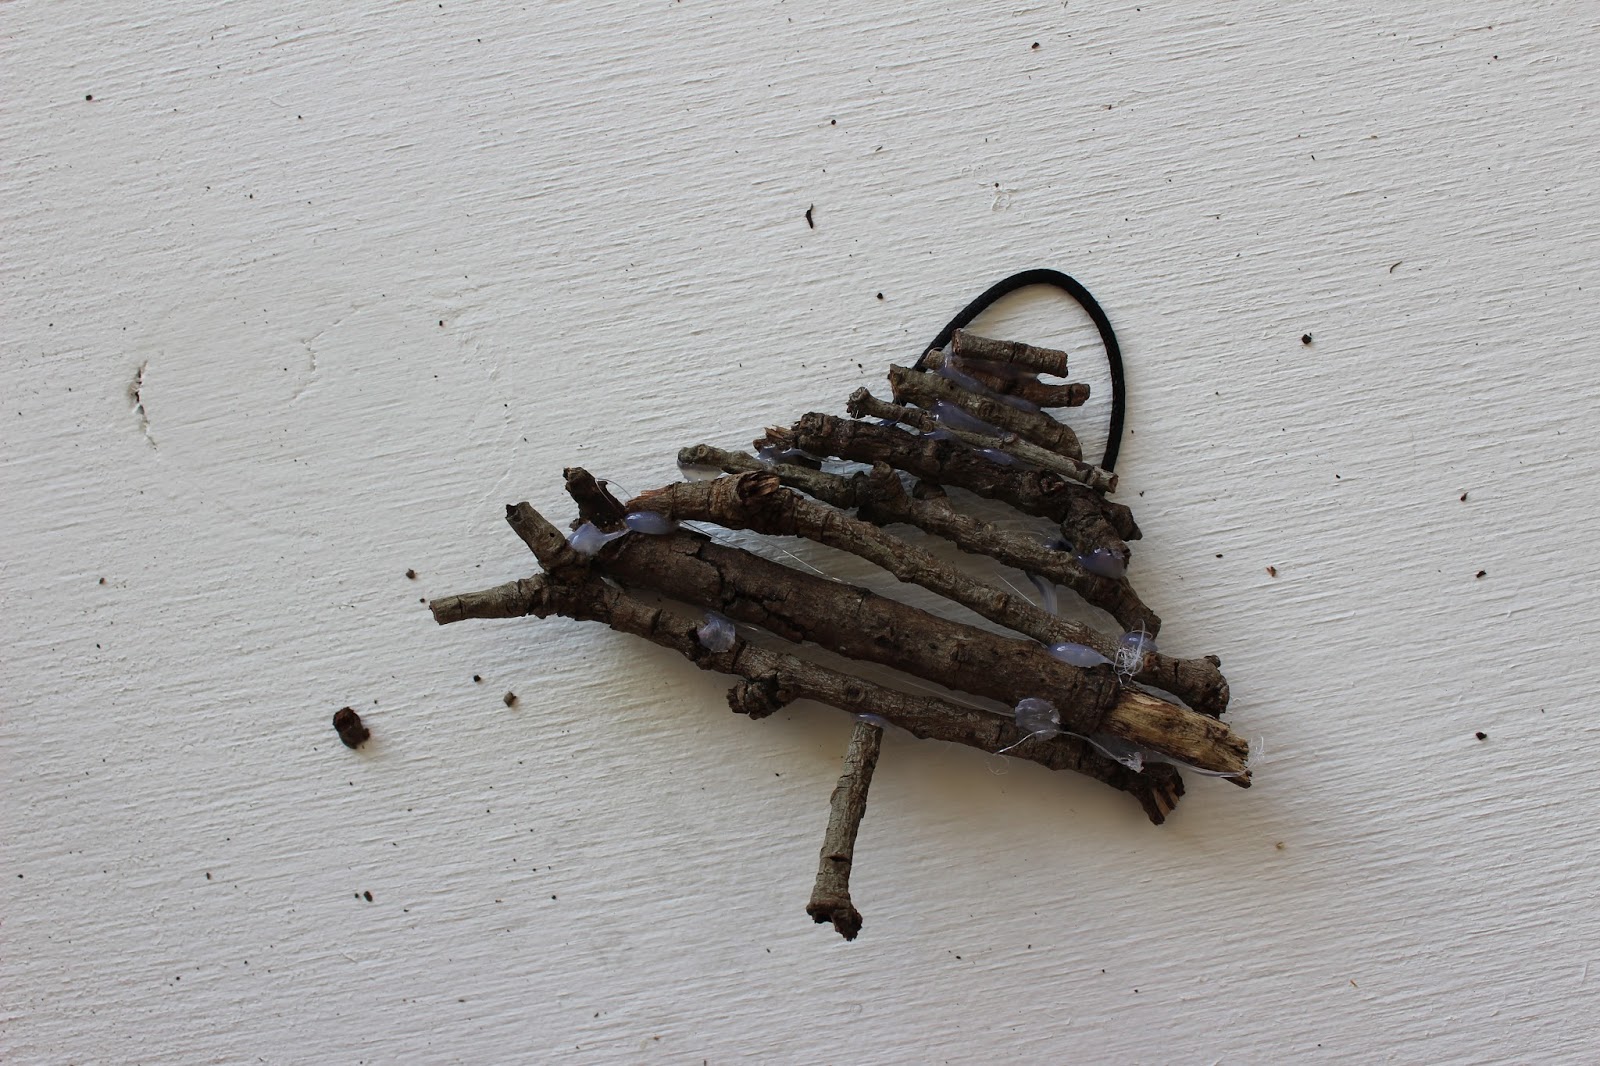
for this DIY, we will be making some christmas tree ornaments, out of sticks! You will need -
- sticks of any shape and size
- hot glue gun
- thin ribbon/wire
- strong scissors
First, start cutting up you sticks so that they form a Christmas Tree sort of shape, and trim them to the size that you want. You could make a wall hanging out of this, or do what I did and just make little ornaments to hang on the tree, though I hung these in my room. Once you have your desired shape, glue away! Then cut a piece of string or wire on to the back in a loop shape to hook it onto things. Now you have a super cute and festive decoration for your room!

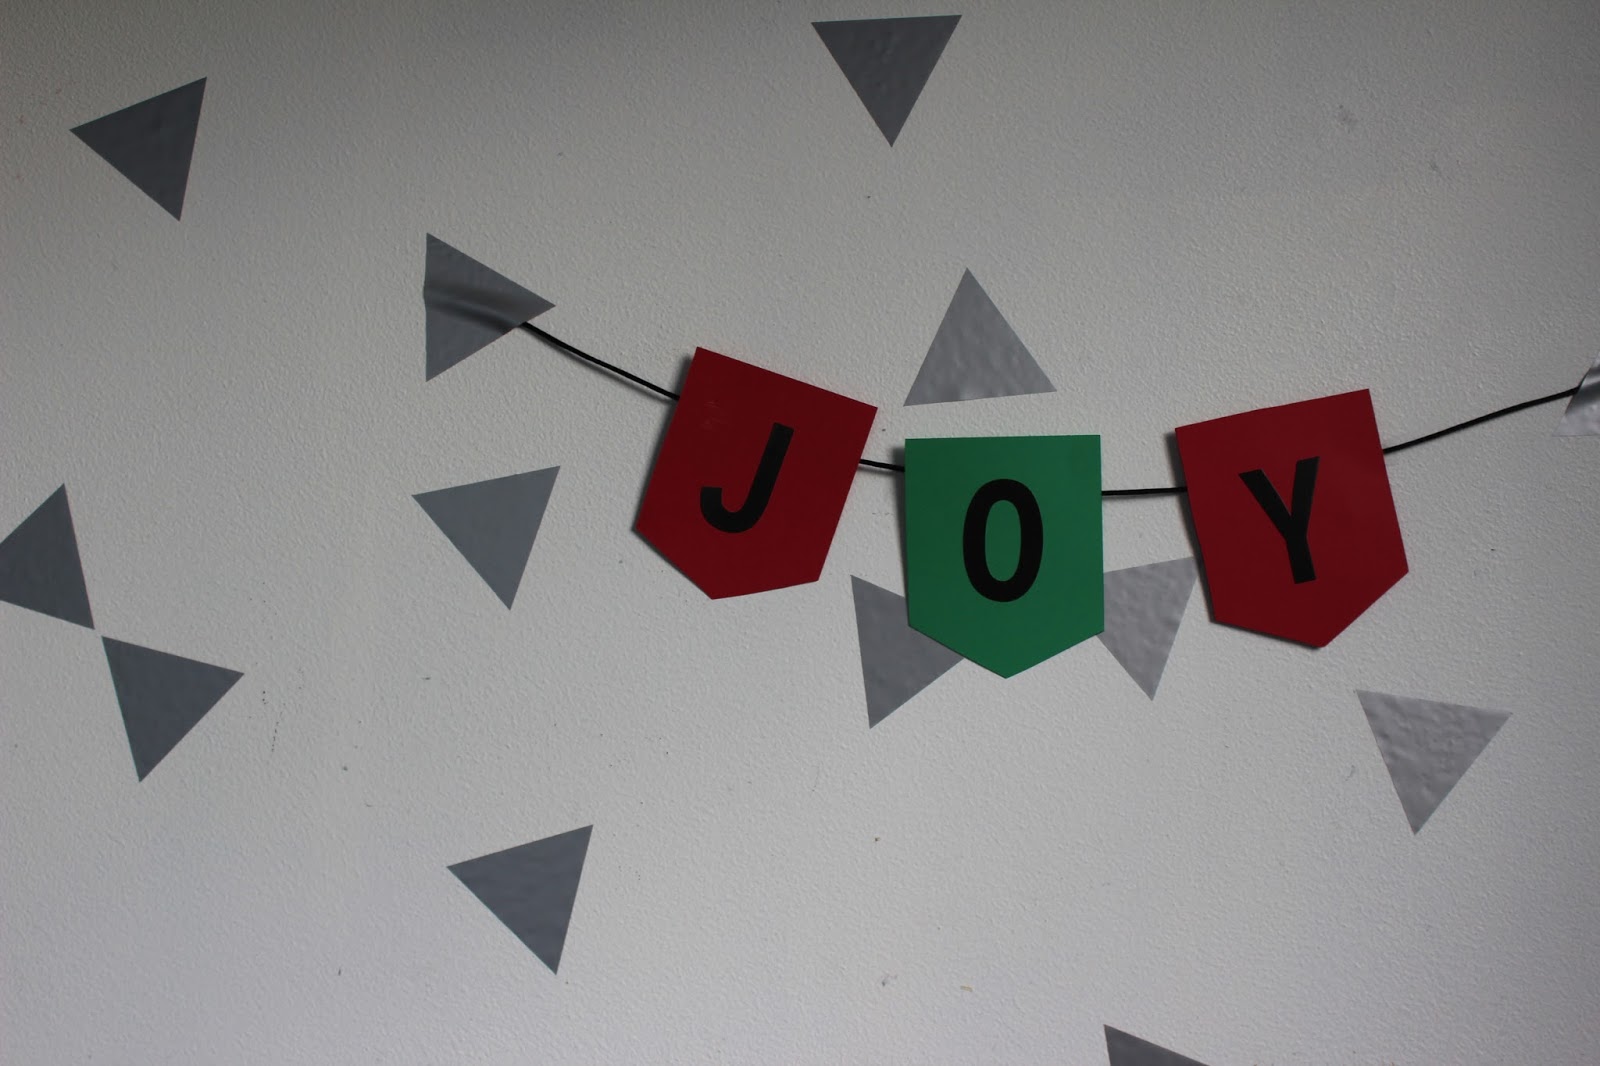
For this bunting DIY, you will need
- big letter stickers
- red and green card paper
- ribbon/string
- ruler and scissors, pen and sellotape
First, measure out the size of bunting that you want, I did mine roughly 8cm across and down, but put a further 2cm down for the point at the bottom. Do this in repeating colours (red & green) until you have enough for your chosen word (mine was joy). After that, stick the letters on, and tape the letters to the string! Then you can hang it up in your room or around your house to get you in the mood for Christmas! Here is a closer shot of the final look!
I hope you enjoyed this and got some ideas on how to festive-ify your room for the holidays! I can't wait for the rest of my Christmas Series, I have some super exciting posts planned!
love from avery huia x
email - averyhuiasblog@gmail.com
instagram - @averyhuiasblog


