Powered by Blogger.

Easy Christmas Baking! - Avery Huia

Tuesday, 22 December 2015

helloooo!

as it is the time for christmas celebrations and parties, i thought that it would be fitting to do a post on some super yummy and easy recipes to share with friends and family or steal all for yourself! these two recipes are super christmassy and delicious!


the first one is white chocolate peppermint bark, and i have never tried this before, but it turned out great and would be a great last minute plate to take to a party!

you will need -
+ white chocolate baking buttons
+ candy canes

first, melt your chocolate in a microwave safe bowl or in a pan on the stove. I used the microwave, and melted the chocolate in lots of 20 seconds, then taking it out to stir, and put back in for another 20 minutes until it was smooth and a liquid consistency. I then put it in a baking tray, with baking paper inside it, and poured and smoothed it in.


you can then unwrap your candy canes, and start to break them up into little pieces, about a few centimetres long. put the little pieces in a plastic zip lock bag and then use something hard like a wooden spoon to crush them up into smaller pieces. once you have them at your preferred size, sprinkle them over the melted chocolate, and put in the fridge for an hour or so, until it is solid.

the next recipe is brownie christmas trees! these are supper yummy and look so cute! these take slightly longer to make than the peppermint bark, but look and taste even more amazing!

you will need -
+ brownie mix & additional wet ingredients (advised on mix packet)
+ candy canes
+ sprinkles
for icing -
+ a tiny bit of butter (on the tip of a spoon)
+ a few drops of water
+ 1 cup of sifted icing sugar
+ green food colouring


firstly, follow and make your brownie with he instructions that come on the packet mix. add the wet ingredients and bake for the suggested time. for the mix that I used, I added two large eggs, and 125g of butter and baked for 28 minutes (for an extra fudgy brownie).


once they are done, leave them to cool on a drying rack, and then cut the pieces into triangles (don't worry if they are uneven).  make the icing by mixing all of the ingredients until you get a wet consistency. then drizzle over the top of the brownies, in whatever shape you like, I did it randomly, but you can do it in a zig zag going down to make it more precise. after that, you can add sprinkles which will acts as baubles or decorations on the tree!


both of these treats are super cute and delicious! they are so easy to make, and would be great for parties! i hope you enjoy making and eating these! merry christmas and a happy new year, love from avery huia x


Pin ThisShare on Tumblr

My Christmas Day Dress - Avery Huia

Friday, 11 December 2015

hellooooo!


as it is leading up to christmas, i have been thinking a lot about the perfect christmas day dress. I have had quite a few dresses on the list, like the RPM dress that I featured in my summer lookbook! I have looked around, and the dress I have finally chosen is from Huffer, and I love it so much!


I have paired it with some Windsor Smith sandals, and a flower crown that I made at my 14th birthday party. I also wore my Runaway Girl necklace from Karen Walker. I really love the green tone, and how it is very summery and light! The cut is really nice, and very flattering! I wore my hair out, and slightly wavy, with the crown on top. 

                I think this is such a nice outfit, and I am so excited to wear it on Christmas Day!

You can find the outfit here -
+ d i y  f l o w e r  c r o w n s


I hope you enjoyed this post, and got an idea of what to wear on Christmas Day! I am so excited for Christmas, it is in 12 more days!

love from avery huia x

follow my instagram - @averyhuiasblog


Pin ThisShare on Tumblr

LUSH Christmas! - Avery Huia

Saturday, 28 November 2015

hellooo!

sorry about the late post - my computer has stopped working so it has been a very slow week!

today I have another Christmas post, that I couldn't resist for much longer! If any of you are lushies, Lush's christmas range is a big deal, and very exciting! I am in love with all of these products, and I hope that you find some products that you will too! these items would also be great for christmas gifts for friends!


 I have chosen 8 items that I love from the range, and they are all so different, but smell so good! 


picture a -                                                                picture b - 
(left to right, top to bottom)
a - bath bombs 
I have pictured above Intergalactic, which is only available in the Oxford St store in London, Yog Nog, Golden Wonder and Dashing Santa. 

+ intergalactic 
this is a very minty smelling bomb, and it is mainly blue but has colours too. this is covered in glitter and is quite big, and I can't wait to use this. I have seen tons of videos of this, and it looks so good! it is only available in gift packages in stores other than Oxford. 

+ yog nog 
this is a really interesting smelling bomb, but it has grown on me, and I quite like it! it is white and a creamish yellowy colour and it looks very pretty

+ golden wonder 
I have tried this before and it is amazing! it is in the shape of a present with a bow, and it such a pretty bath and little stars float at the end! it smells amazing aswell! 

+ dashing santa 
I haven't tried this before, but it is really cute, and is shaped like a little santa dashing around with his presents. It smells very citrusy and is a red colour.

b - miscellaneous 

+ santa's belly shower jelly
I love the Sweetie Pie shower jelly, and it is hard to top, but I think this might have done it! It is described as smelling like wine and red apples, and has little stars in the bottom. it acts as a semi solid shower jelly, and does exactly what that does, and you can re use it!

+ yog nog soap 
this is the same scent as the bath bomb, but in a soap. it is the same as your usual soap, but is very melt-y, so I imagine that it would be very moisturising.

+ candy mountain bubble bar
with this, you run it under the bath, and you can re use it by crumbling it, or use the whole thing to create mountains of bubbles! this smells really sweet, and is very sparkly and makes my baths amazing!

+ salt and peppermint bark
this is a scrub, and you rub it onto your body in the shower, and it is harsh, but after it is washed off, is super softening! I love this so much, and I think that it is my favourite out of the 8!

I love these products, and they have definitely contributed to me getting into the christmas spirit! they all smell so good, and there is a scent for everyone at Lush!  


lots of love, avery huia

email - averyhuiasblog@gmail.com
instagram - @averyhuiasblog


Pin ThisShare on Tumblr

Christmas Room Decor - Avery Huia

Thursday, 19 November 2015

helloooo!

for todays post, I thought that I would do Christmas room decor! I have 3 things that you can buy, and 2 things that you can make. I am so excited for Christmas and I have used all of these to make my room super festive!


I got this silver bell star wreath, and I thought it looked so cute and added a simple festive touch, but it could also be used all year round. I got this from Kmart, and it was super cheap!


I added some candy canes in a mason jar, and they add a touch of red to my room, but they are super hard to resist! You can get these anywhere, and there are some super cute DIYs with candy canes, like a heart shaped wreath!


Also at Kmart, I found this super cute pillow with a gold reindeer on it! This adds a festive touch, and a pop of gold too! It is also reversible, and on the other side it has gold, sliver and black triangles!


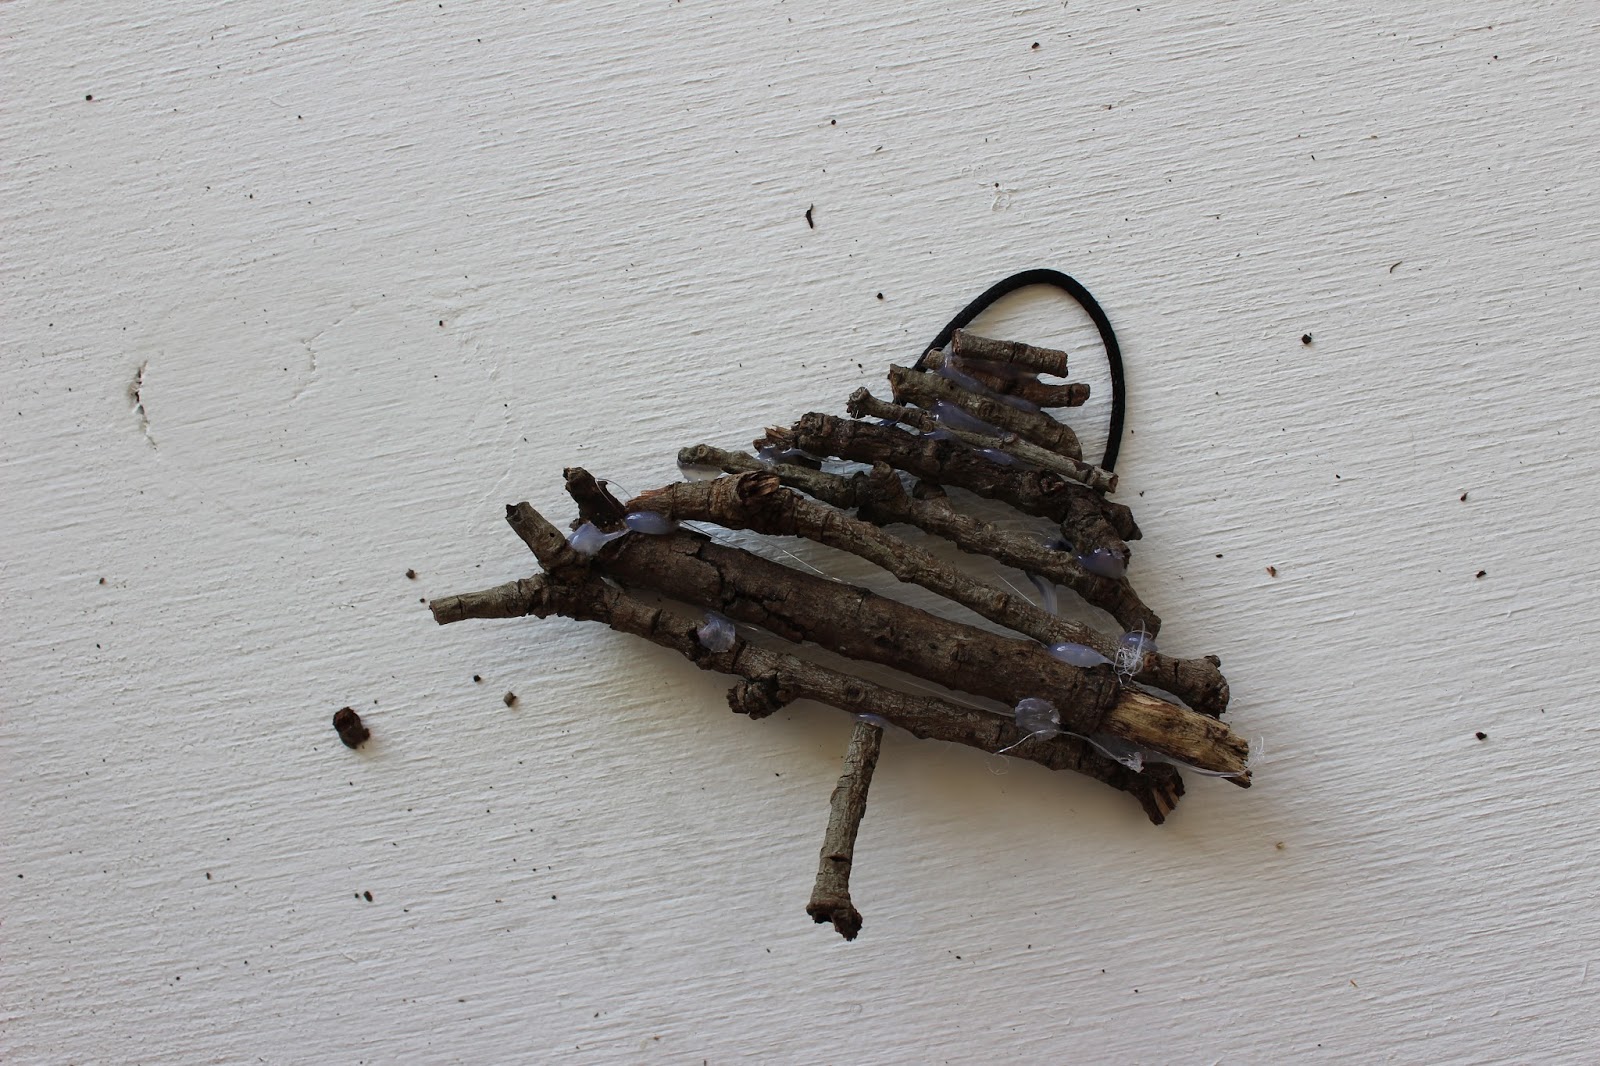
for this DIY, we will be making some christmas tree ornaments, out of sticks! You will need -
- sticks of any shape and size
- hot glue gun 
- thin ribbon/wire
- strong scissors 
First, start cutting up you sticks so that they form a Christmas Tree sort of shape, and trim them to the size that you want. You could make a wall hanging out of this, or do what I did and just make little ornaments to hang on the tree, though I hung these in my room. Once you have your desired shape, glue away! Then cut a piece of string or wire on to the back in a loop shape to hook it onto things. Now you have a super cute and festive decoration for your room!


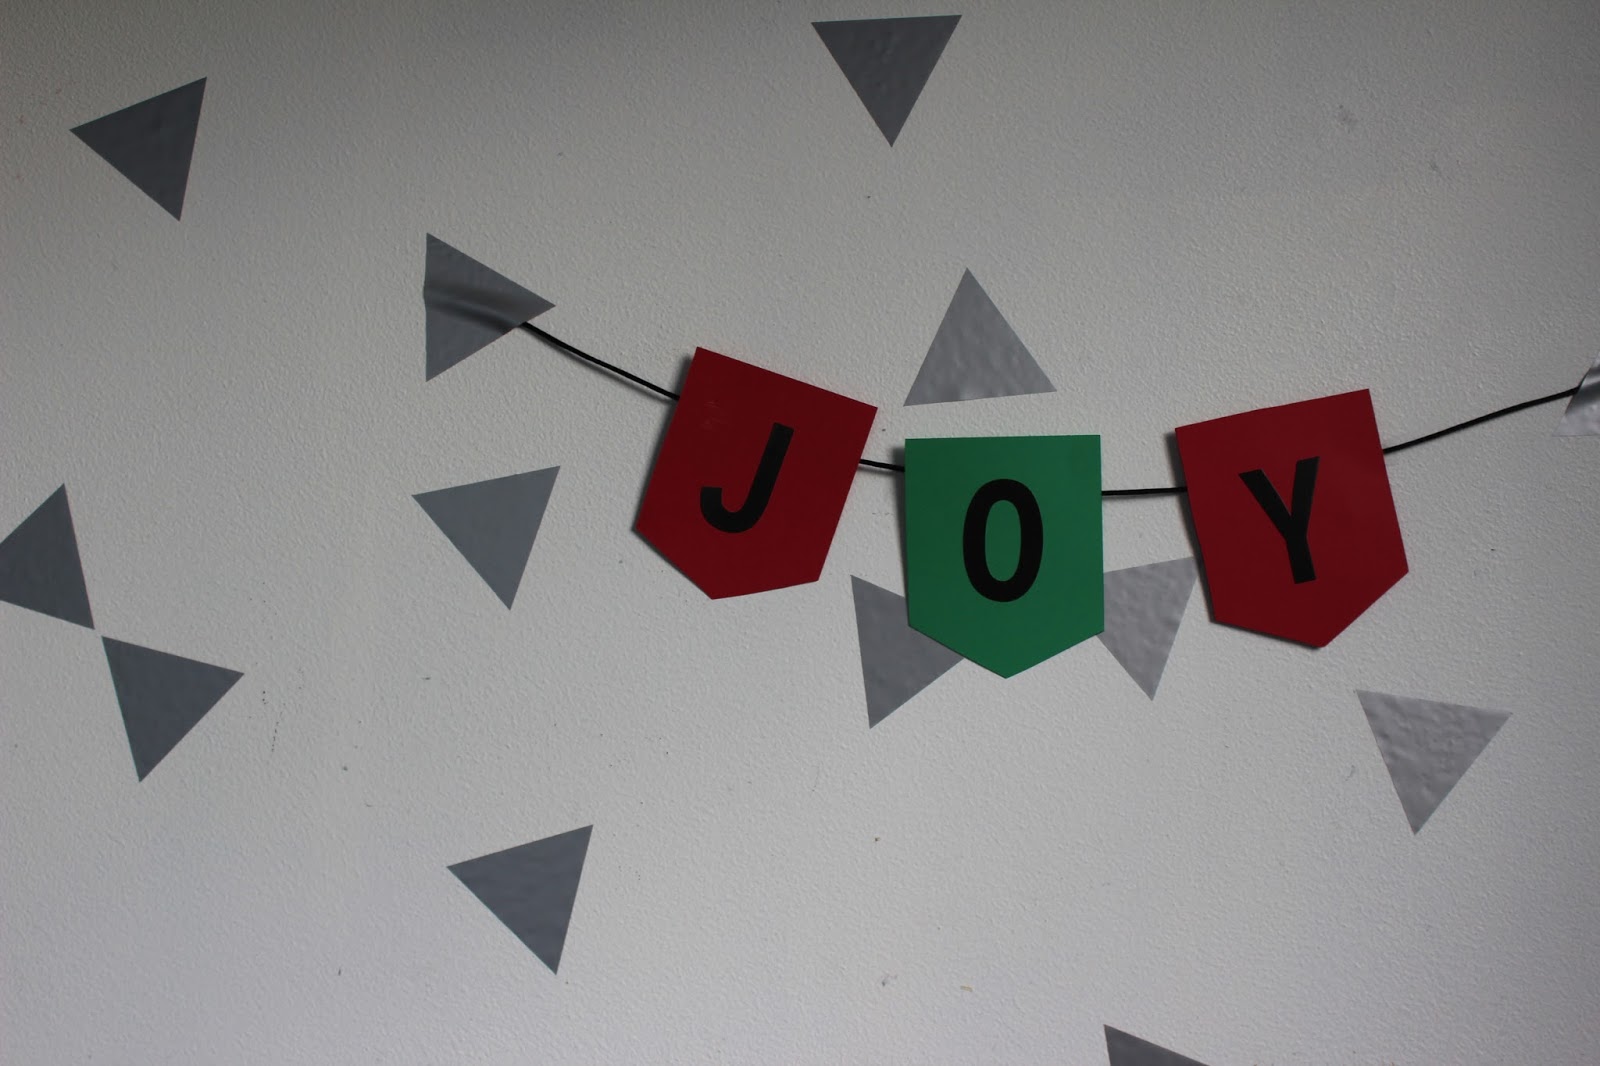
For this bunting DIY, you will need
- big letter stickers
- red and green card paper
- ribbon/string
- ruler and scissors, pen and sellotape

First, measure out the size of bunting that you want, I did mine roughly 8cm across and down, but put a further 2cm down for the point at the bottom. Do this in repeating colours (red & green) until you have enough for your chosen word (mine was joy). After that, stick the letters on, and tape the letters to the string! Then you can hang it up in your room or around your house to get you in the mood for Christmas! Here is a closer shot of the final look!


I hope you enjoyed this and got some ideas on how to festive-ify your room for the holidays! I can't wait for the rest of my Christmas Series, I have some super exciting posts planned!

love from avery huia x


email - averyhuiasblog@gmail.com

instagram - @averyhuiasblog


Pin ThisShare on Tumblr
 

AVERY HUIA© Theme by Blog Milk