Powered by Blogger.

Christmas Room Decor - Avery Huia

Thursday, 19 November 2015

helloooo!

for todays post, I thought that I would do Christmas room decor! I have 3 things that you can buy, and 2 things that you can make. I am so excited for Christmas and I have used all of these to make my room super festive!


I got this silver bell star wreath, and I thought it looked so cute and added a simple festive touch, but it could also be used all year round. I got this from Kmart, and it was super cheap!


I added some candy canes in a mason jar, and they add a touch of red to my room, but they are super hard to resist! You can get these anywhere, and there are some super cute DIYs with candy canes, like a heart shaped wreath!


Also at Kmart, I found this super cute pillow with a gold reindeer on it! This adds a festive touch, and a pop of gold too! It is also reversible, and on the other side it has gold, sliver and black triangles!


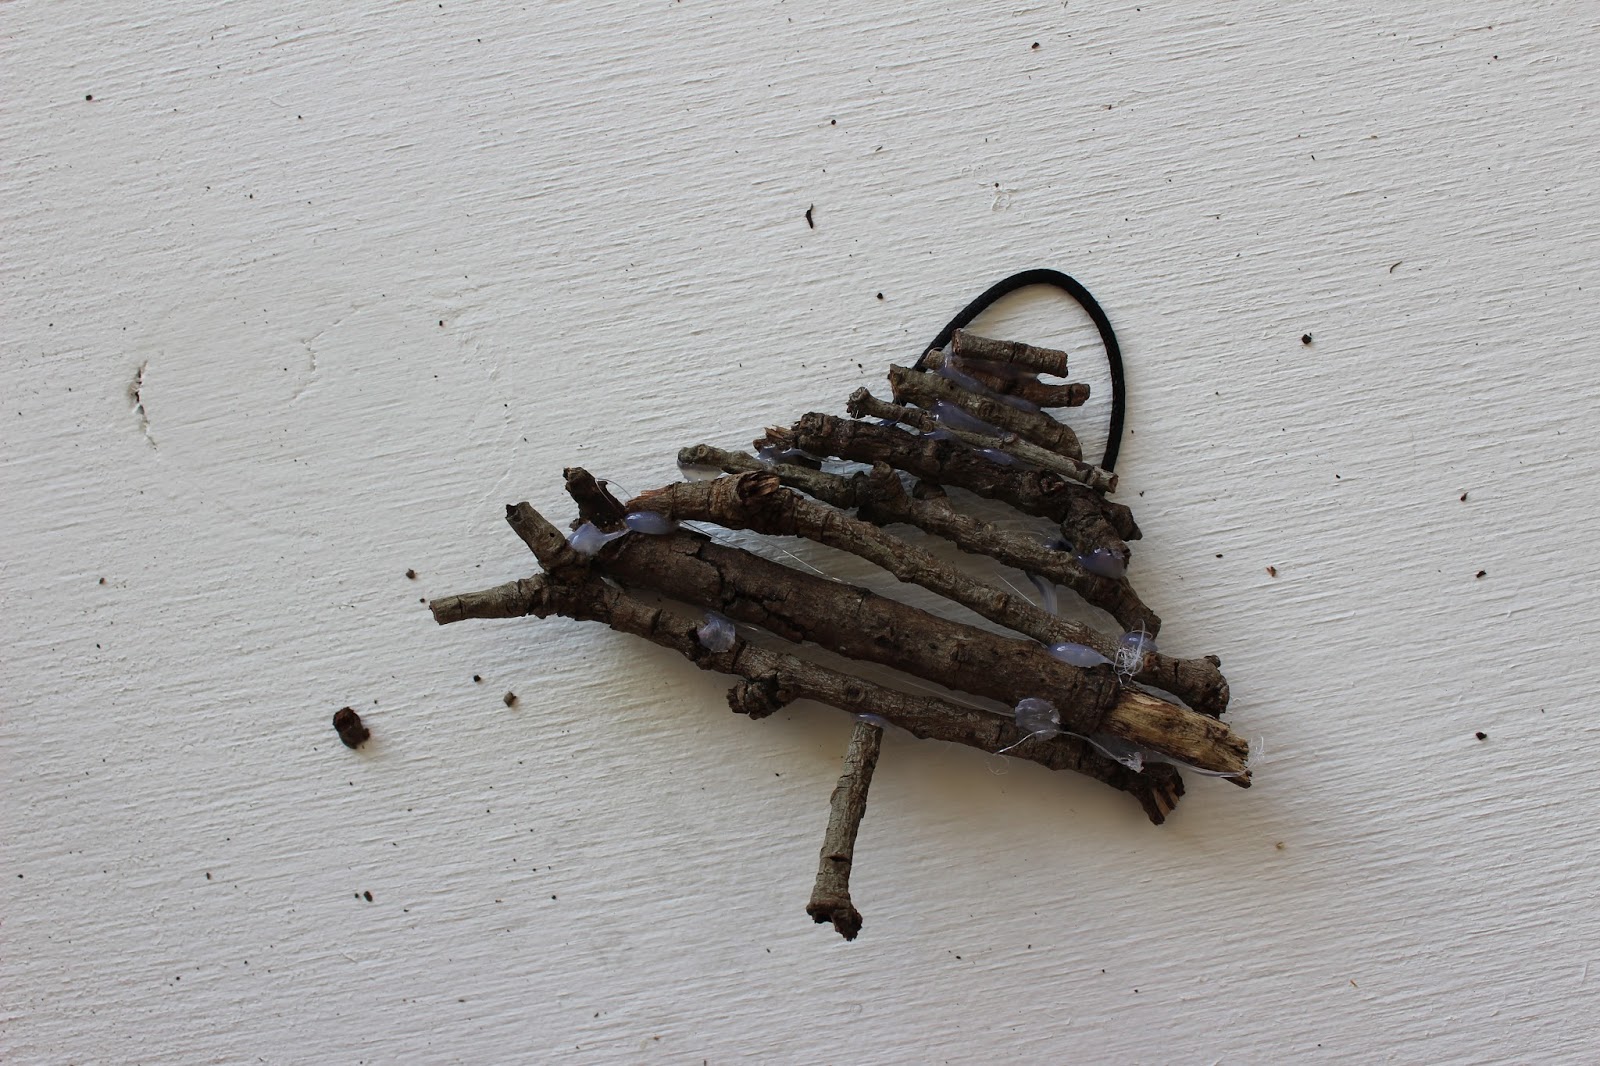
for this DIY, we will be making some christmas tree ornaments, out of sticks! You will need -
- sticks of any shape and size
- hot glue gun 
- thin ribbon/wire
- strong scissors 
First, start cutting up you sticks so that they form a Christmas Tree sort of shape, and trim them to the size that you want. You could make a wall hanging out of this, or do what I did and just make little ornaments to hang on the tree, though I hung these in my room. Once you have your desired shape, glue away! Then cut a piece of string or wire on to the back in a loop shape to hook it onto things. Now you have a super cute and festive decoration for your room!


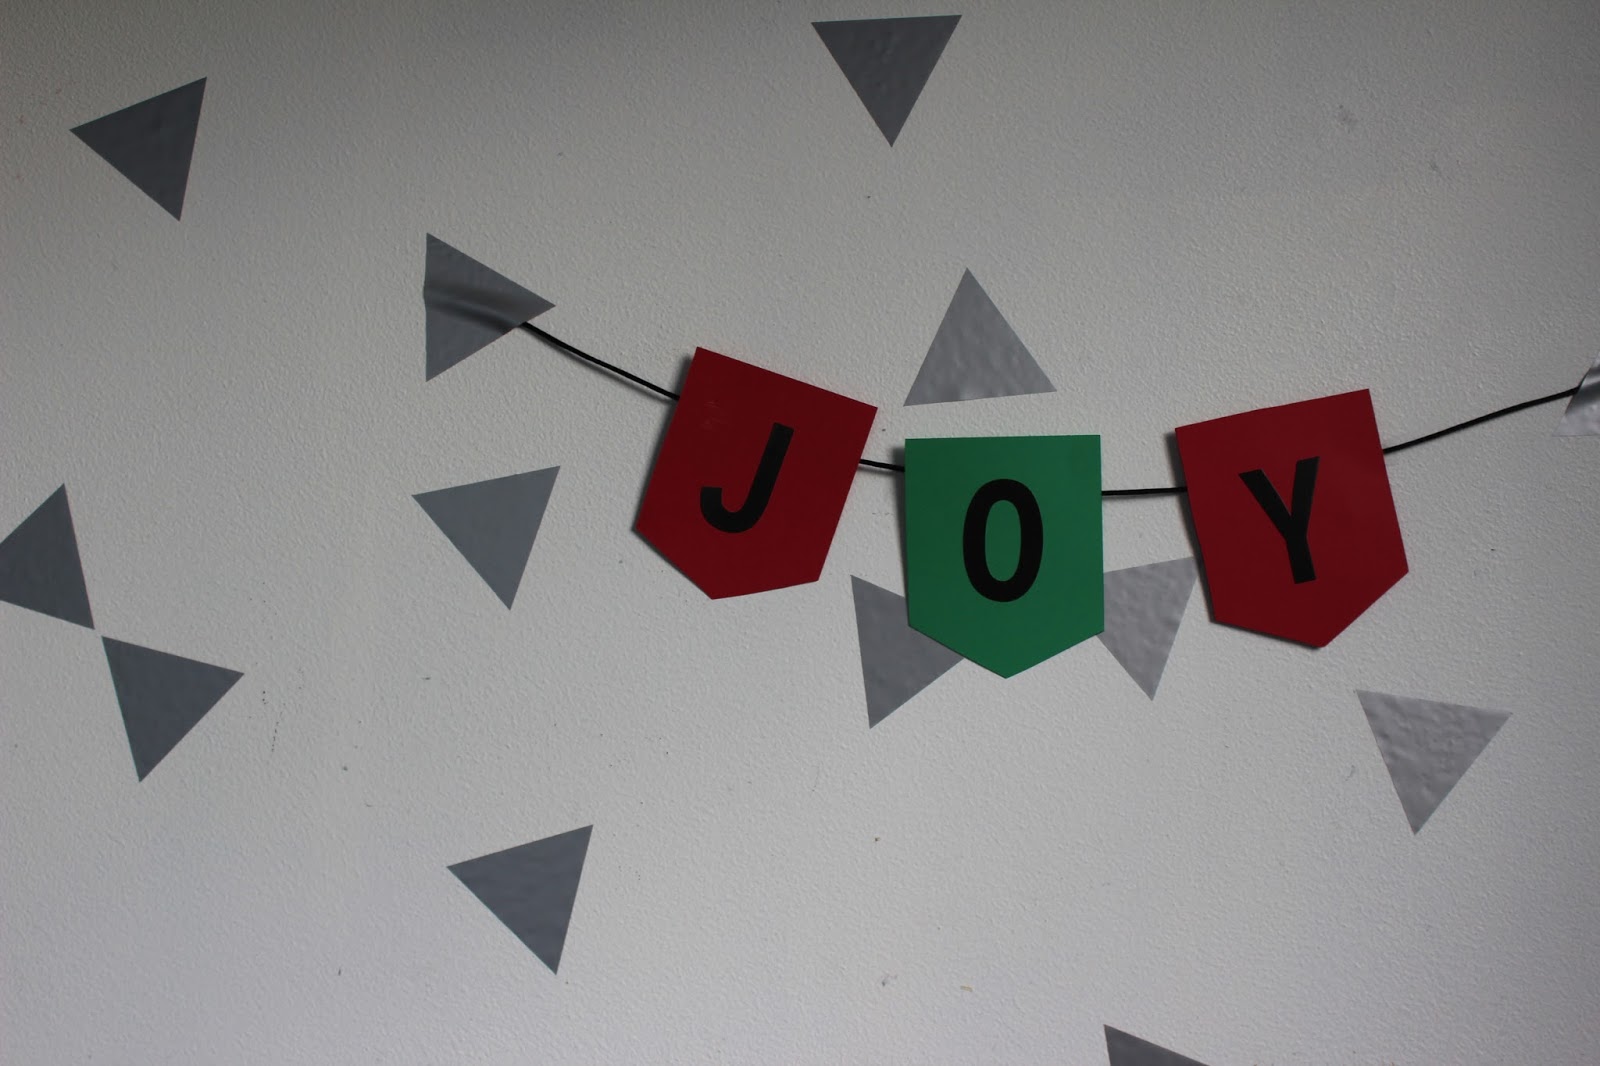
For this bunting DIY, you will need
- big letter stickers
- red and green card paper
- ribbon/string
- ruler and scissors, pen and sellotape

First, measure out the size of bunting that you want, I did mine roughly 8cm across and down, but put a further 2cm down for the point at the bottom. Do this in repeating colours (red & green) until you have enough for your chosen word (mine was joy). After that, stick the letters on, and tape the letters to the string! Then you can hang it up in your room or around your house to get you in the mood for Christmas! Here is a closer shot of the final look!

I hope you enjoyed this and got some ideas on how to festive-ify your room for the holidays! I can't wait for the rest of my Christmas Series, I have some super exciting posts planned!

love from avery huia x


email - averyhuiasblog@gmail.com

instagram - @averyhuiasblog


Pin ThisShare on Tumblr

diy mood board! - Avery Huia

Saturday, 10 October 2015

helloooo there!


for today's diy post, I found the inspiration to do moodboard from instagram, which I am constantly finding amazing photos and projects on! it's pretty straight forward, but I thought that it would be fun for you to see the pictures and things that I used and I hope you get some inspiration from my one! I am so happy with how it turned out and when I look at it I get lots of ideas, from styling my room to colour schemes and fashion!


you will need:
+ frame (a4 or smaller)
+ scissors 
+ washi tape 
+ glue stick
+ magazines
+ 1 sheet pf a4 paper

start by leafing through the magazines and choosing a colour scheme or theme, and find pages and pictures which you think will match and go together. I chose a bright and colourful theme, with lots of different shades, but I still made sure that they all flowed.


with the backing of your frame, cut the a4 piece of paper to fit it if you need to. once you have found your photos and have cut them all out, place them on the piece of paper and arrange them until you have found a layout that suits you, making sure you have covered the white paper entirely. don't be afraid to overlap pictures and crop parts out of them to make room for other cut outs. 


once you have your perfect arrangement, remember to take a picture of it so you remember how it looks before you glue it all on! after I glued everything on, I added some washi tape on top of the pictures to make them look like they have been stuck on, and I thought that it gave a really cool pop of colour, and added texture to the mood board! 


here is my finished project! I am so happy with how it turned out, and it really gave my room a pop of colour and makes me feel good! I put some room decor and styling, some pillows and blankets, Emma Stone and Taylor Swift, some bold words, and A, H and a B, for Avery Huia's Blog, and some other pictures that I thought were really cool and pretty!

lots of love - avery huia x

email - averyhuiasblog@gmail.com

instagram - @averyhuiasblog


Pin ThisShare on Tumblr

14th birthday party - avery huia

Tuesday, 18 August 2015

helloo!

recently I turned 14, and for my party, we decided to have a high tea, as well as making things (diy). we potato stamped pillowcases (see how here), painted flowerpots, and made flower crowns. we then had afternoon tea using china teacups and saucers from my grandmother's collection. it was such an amazing birthday, and we all had so much fun.


the left is the table, and the right is the amazing cake that my mum made, in the shape of a flower pot! we ate things like cupcakes, brownies, club sandwiches, meringues, sausage rolls etc. 


over the week before, we did things like dye paper doilies like the ones below
to put on the table, hang up paper flowers, and decorate the table! above is a picture of a practice crown we made, and we made it with florist's wire and artificial flowers.


we iced donuts, and used leftovers from the paper flowers as table scatters. we put candles up around the table and had a mini drinks bar on a side table. I had a really good time at the party, and I am so happy with how everything turned out.

hope you enjoyed, love from avery huia x

p.s: thank you SO much for over 5000 views! even if you have only read my blog once, or if you are a frequent reader, it means so so so much to me! 

email: averyhuiasblog@gmail.com

instagram: @averyhuiasblog


Pin ThisShare on Tumblr

desk organisation - avery huia

Friday, 31 July 2015

hello lovely people! 

today i have a post about desk organisation! i really like being organised and these things help me to, and also look super cute! 

first, i printed out a calendar for august, and put it inside a clear file, and pinned it up on my pinboard and decorated it with cute stickers and wrote down my activities and event for the month! this is super easy but really effective, and helps you stay organised and looks really cute and simplistic. 


i also pinned up a cute piece of lace at the bottom of my board, and clipped up some stickers and hung a string with my washi tapes on it. this is so cool because i use these two things a lot, and instead of storing them away, they are right in front of me when i need them!

i also re used a bag from the body shop and took off the handles and rolled down the top to create a replica uashmama bag. it is so handy to just throw bits and bobs into, and looks really cool too!

these are really easy things to do to help you stay organised, and they make such a difference to your way of working and are real time savers! hope you enjoyed! 


lots of love x 

email - averyhuiasblog@gmail.com

instagram - @averyhuiasblog 


Pin ThisShare on Tumblr

Cute Pinboard Decorations! - Avery Huia

Friday, 20 February 2015

Hey guys! In my room, I've got quite a horizontally long pinboard, and I have never really had enough stuff that I've had to pin up on it.


The other day I was watching a video by LaurDIY, and she made a diamond wall art piece, using triangles cut out from magazines. I put my own twist on it, and cut out mostly triangle, with a couple of squares and I found this really cool strip of lots of different colours of paint! 

In the middle, I have my timetable for school, and above it I've got some cool things, like a perfume spray card from Victoria's Secret in Sydney, the top from a packet of Frank, a business card from Brandy Melville that I got when I went to Italy, and a tag from a Lush gift. 


To the left of the board, I have eight of my favourite Polaroids :)

Hope you enjoy!


Lots of Love from Avery Huia xxx

Pin ThisShare on Tumblr

Easy & Effective Ways to Decorate Your Room! - Avery Huia

Wednesday, 21 January 2015

Hellooooo!

Over the past few weeks I have been changing up my room a bit, and I thought that I should share some easy tips and tricks to giving your room a mini and inexpensive makeover!


If you have read my Room Tour post, (I suggest taking a look at it before you carry on with this) then you will have seen that my ben was against my wall and in a corner, and my bedside table wasn't actually at my bedside. Since my bed is the largest movable thing in my room, moving that would have lots of impact. I shifted it into the middle of my room, which I really like, and I then moved my table next to the bed. I got inspiration for decorating the top of the bedside from a youtube video by mylifeaseva and she had a DIY in the video. She created a inspiration frame to put somewhere where you could see it everyday. I went on pinterest and found a few quotes that I really loved and want to live by, and put them together on PicMonkey, and printed it out, put a coloured paper background on it and set it in a frame next to my bed.


On my desk, I have a pen and pencil holder, a SugarBaby hand cream, a file holder with a book by the store Superette and a really pretty card that I was given, along with a small notepad. I have a owl shaped piggy bank and a Rubix Cube to play with if I'm not doing anything. 


Above my bed I have some lanterns and paper flowers hanging from the roof and I think they make such a difference and I love them and they give a really nice feeling to the room! 


Lastly, above my desk I have two hanging pencil cups and I thought that they look really cool if the pencils were in the cups in hot and cold organisation. I think it is a fun and great way to stay organised!


Lots of Love, Avery Huia xxx


Pin ThisShare on Tumblr

Halloween Room Decor! - Avery Huia

Saturday, 8 November 2014

Kia Ora! As it is getting closer to Halloween, I thought that to get into the spirit, I would decorate my room! We were just down in Palmerston North, so on the way, we stopped to get a few pumpkins! Recently I have also done a DIY luminous candle holder, that I got from the YouTube channel, Brooklyn and Bailey! You can find the link to the video here. I also got some of my things that I used daily, and that were also Orange, and put them in my little bucket with things like body butter and perfume spray. We also picked up some spider webs and a lolly bucket as well! I put everything together on my dressing table, and I think it looks really cool! I hope you get a few ideas from this! Love from Avery Huia xxx


Pin ThisShare on Tumblr
 

AVERY HUIA© Theme by Blog Milk